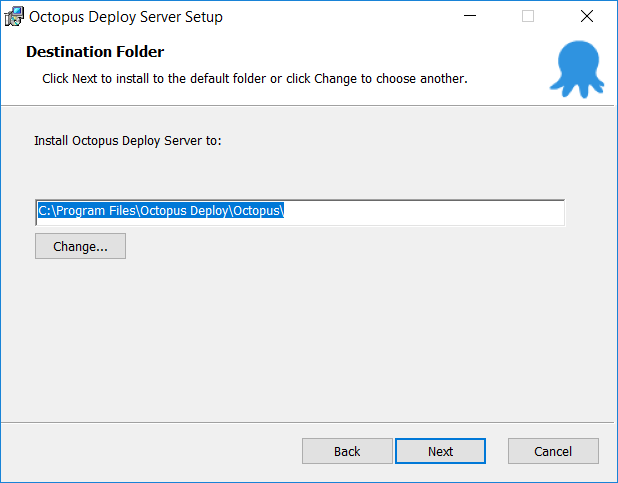
Octopus Deploy server installation is really straightforward. Just download the msi from here https://octopus.com/downloads and follow the instructions:
Choose installation directory. That's it:
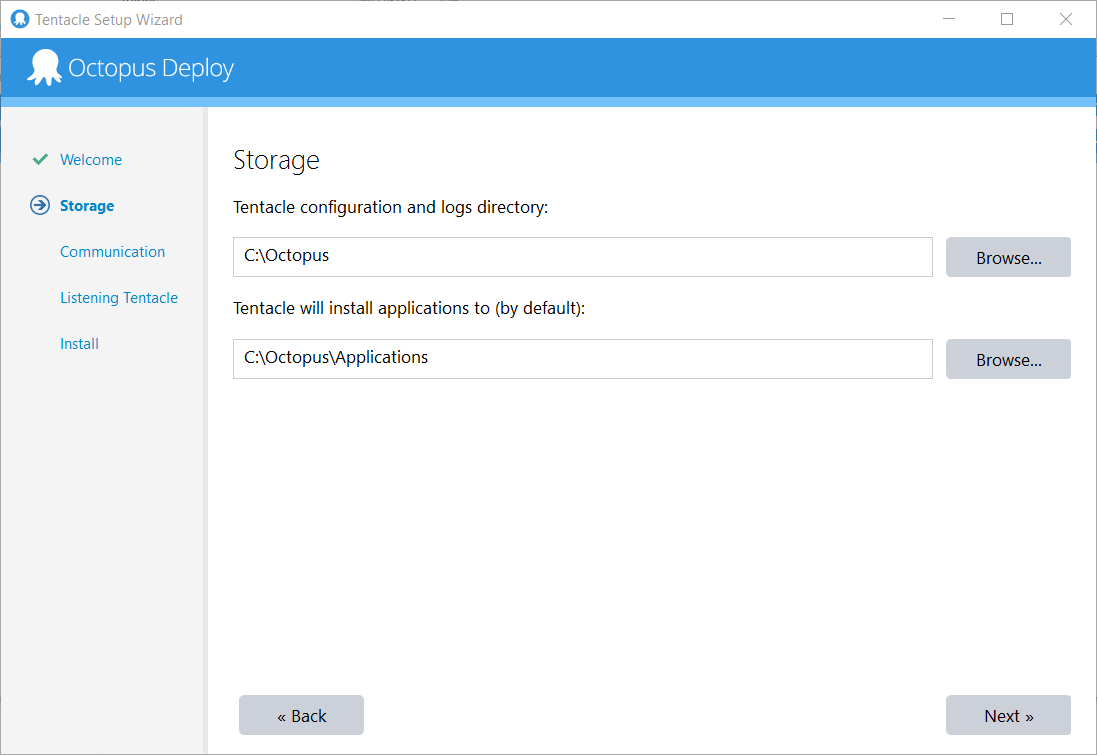
Octopus Deploy has been installed. Now it is time to configure it. Let's choose storage options:
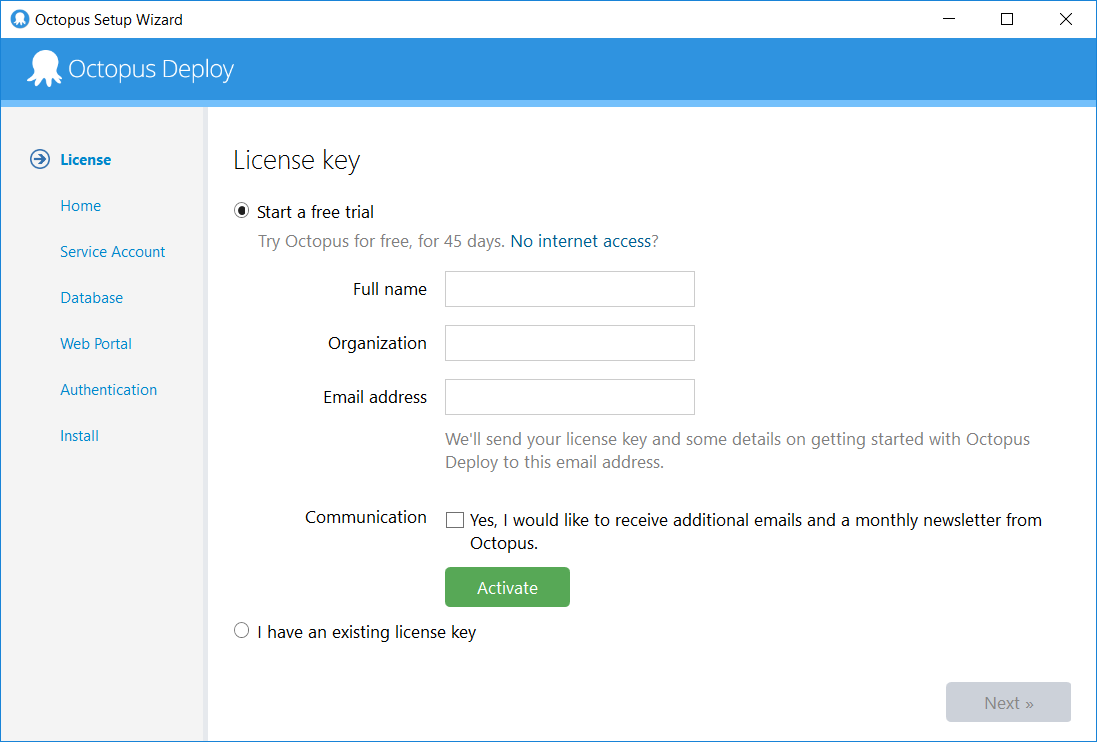
- Either enter existing licence or choose 45 day trial:
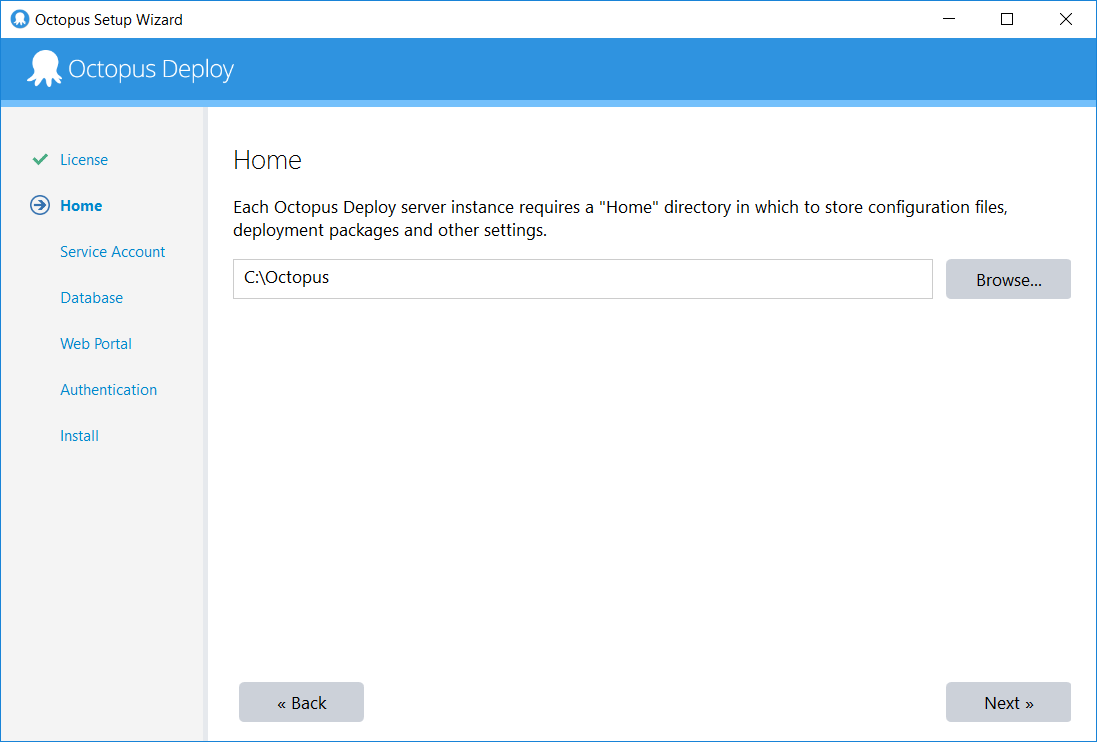
- Choose a directory for configuration files:
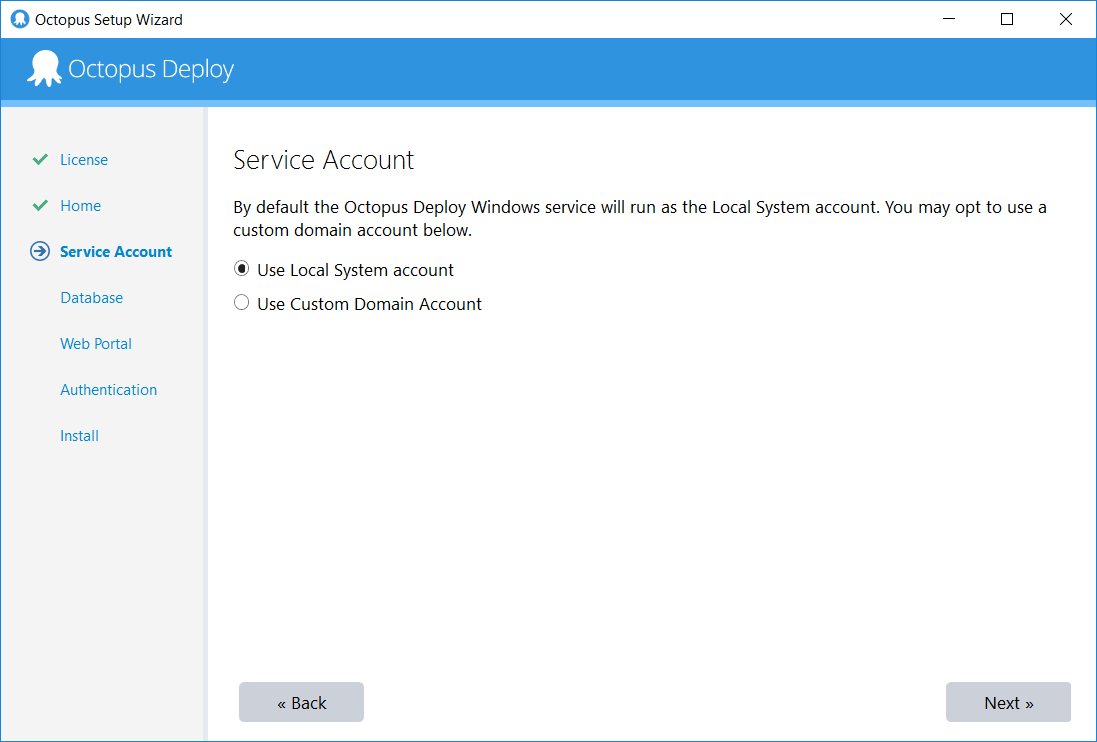
- Chose an account for running Octopus Deploy Windows service:
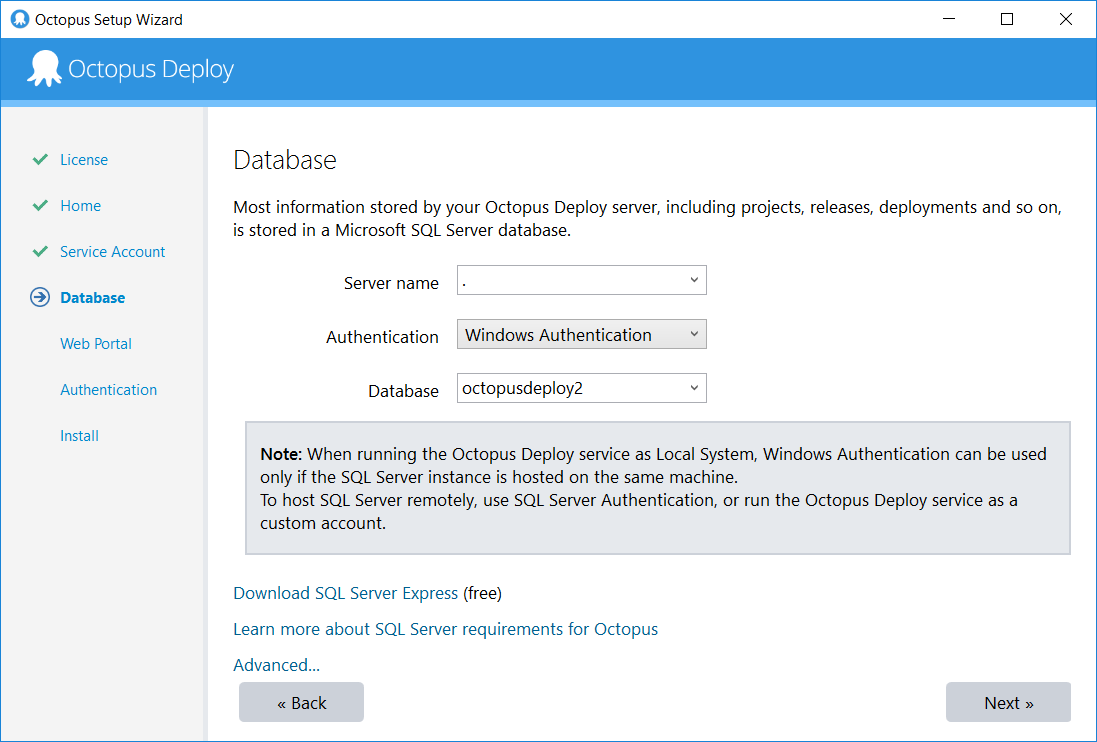
- Configure SQL Server DB:
- Confgure Web Portal (application specific management is going to happen out there):

- Configure authentication options: user name/password or link it to an exising Active Directory:

- Everthing you can do in Octopus via UI, you can also do either via API or CLI:
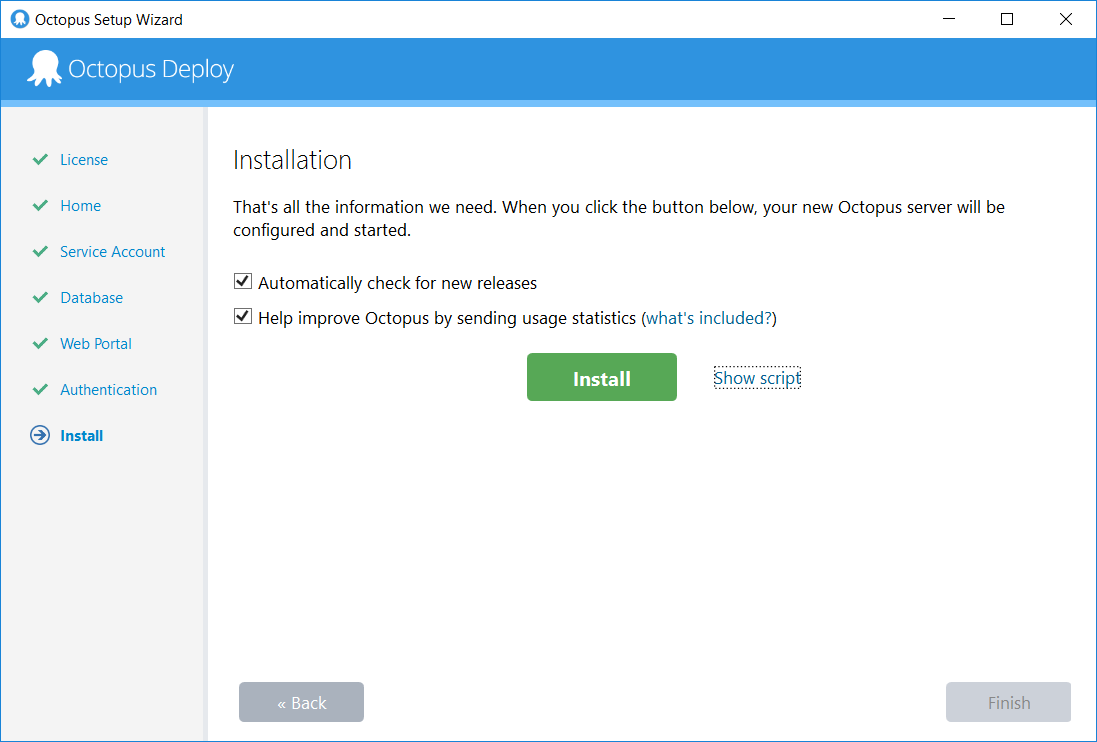
For instance when you click "Show script" you will see something like that. You can copy/tune the script for further automation:
Octopus.Server.exe create-instance --instance "OctopusServer" --config "C:\Octopus\OctopusServer.config"

Octopus.Server.exe database --instance "OctopusServer" --connectionString "Data Source=.;Initial Catalog=octopusdeploy2;Integrated Security=True" --create --grant "NT AUTHORITY\SYSTEM" Octopus.Server.exe configure --instance "OctopusServer" --upgradeCheck "True" --upgradeCheckWithStatistics "True" --webForceSSL "False" --webListenPrefixes "http://localhost:8080/" --commsListenPort "10943" --serverNodeName "CR320151" --usernamePasswordIsEnabled "True"

Octopus.Server.exe service --instance "OctopusServer" --stop

Octopus.Server.exe admin --instance "OctopusServer" --username "artur.karbone@gmail.com" --email "artur.karbone@gmail.com" --password "<some password>"

Octopus.Server.exe license --instance "OctopusServer" --licenseBase64 "PExpY2Vuc2UgU2lnbmF0dXJlPSJtcWhYYXdjUFo5WTJYWThKTTA2em8xbzhKM08xN2pqemtXR3czVTFPMnc3QnJlYlRITWJKZjFDWWFPV0dDcTk3MzdXR1RycXhyY3lGTlUzaVUwOEMxdz09Ij4KICA8TGljZW5zZWRUbz5LVkEgQ3JhZnQ8L0xpY2Vuc2VkVG8+CiAgPExpY2Vuc2VLZXk+NzQ1NTYtMDg2MjItNTU0MjktNjk0MTE8L0xpY2Vuc2VLZXk+CiAgPFZlcnNpb24+Mi4wPCEtLSBMaWNlbnNlIFNjaGVtYSBWZXJzaW9uIC0tPjwvVmVyc2lvbj4KICA8VmFsaWRGcm9tPjIwMTgtMDYtMjU8L1ZhbGlkRnJvbT4KICA8VmFsaWRUbz4yMDE4LTA4LTA5PC9WYWxpZFRvPgogIDxQcm9qZWN0TGltaXQ+VW5saW1pdGVkPC9Qcm9qZWN0TGltaXQ+CiAgPE1hY2hpbmVMaW1pdD5VbmxpbWl0ZWQ8L01hY2hpbmVMaW1pdD4KICA8VXNlckxpbWl0PlVubGltaXRlZDwvVXNlckxpbWl0Pgo8L0xpY2Vuc2U+"

Octopus.Server.exe service --instance "OctopusServer" --install --reconfigure --start --dependOn "MSSQLSERVER"
- For some additional post-installation configuration, launch a tool called "Octopus Manager":
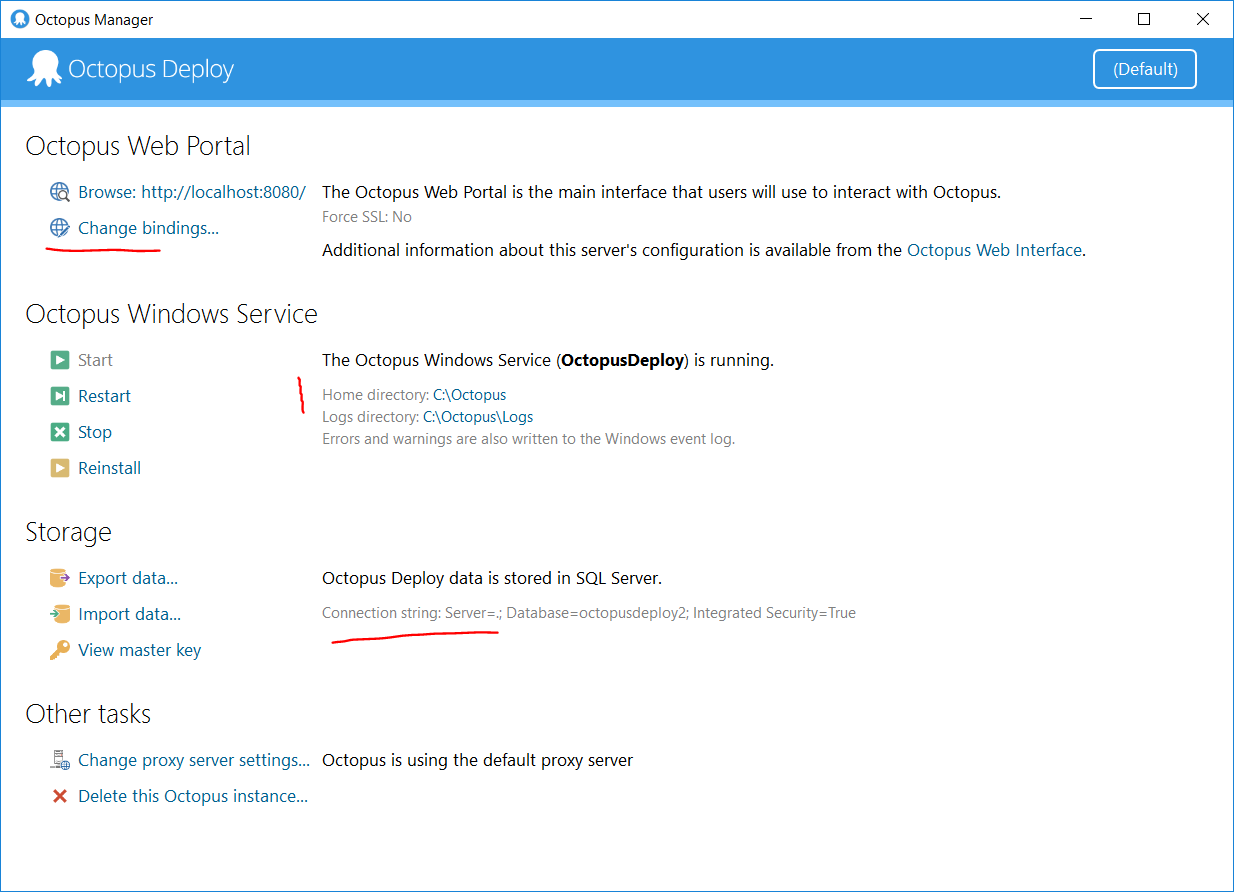
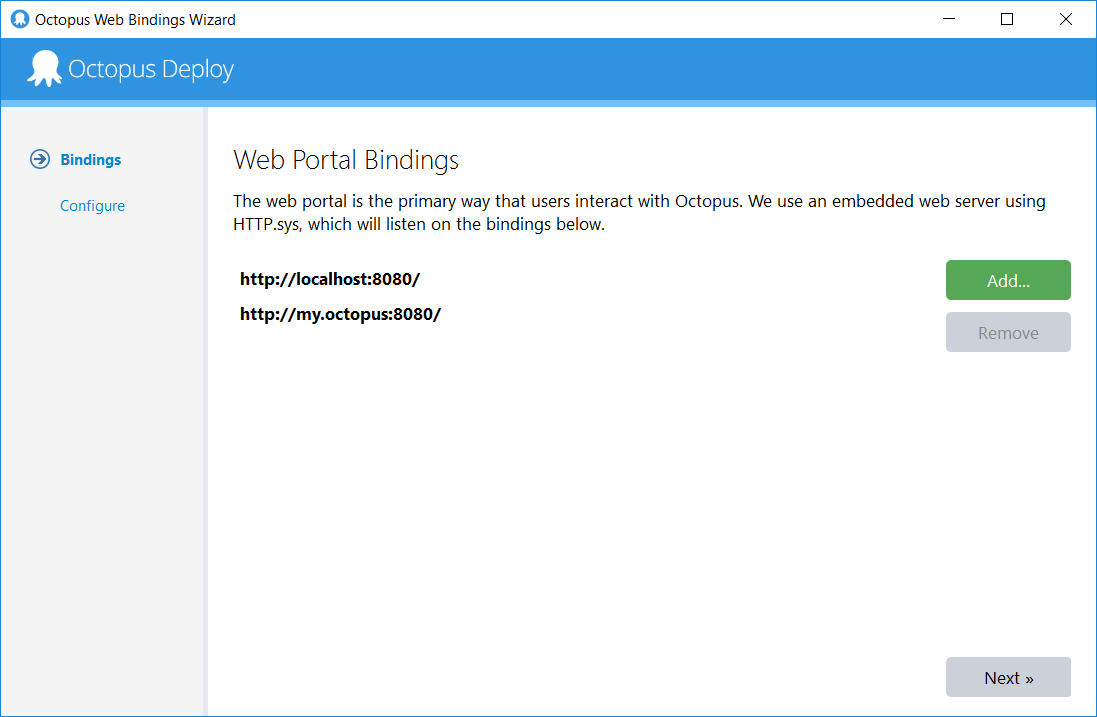
- You can add new Web Portal Bindings, create new instances of Octopus Deploy Server, restart existing instances, etc:
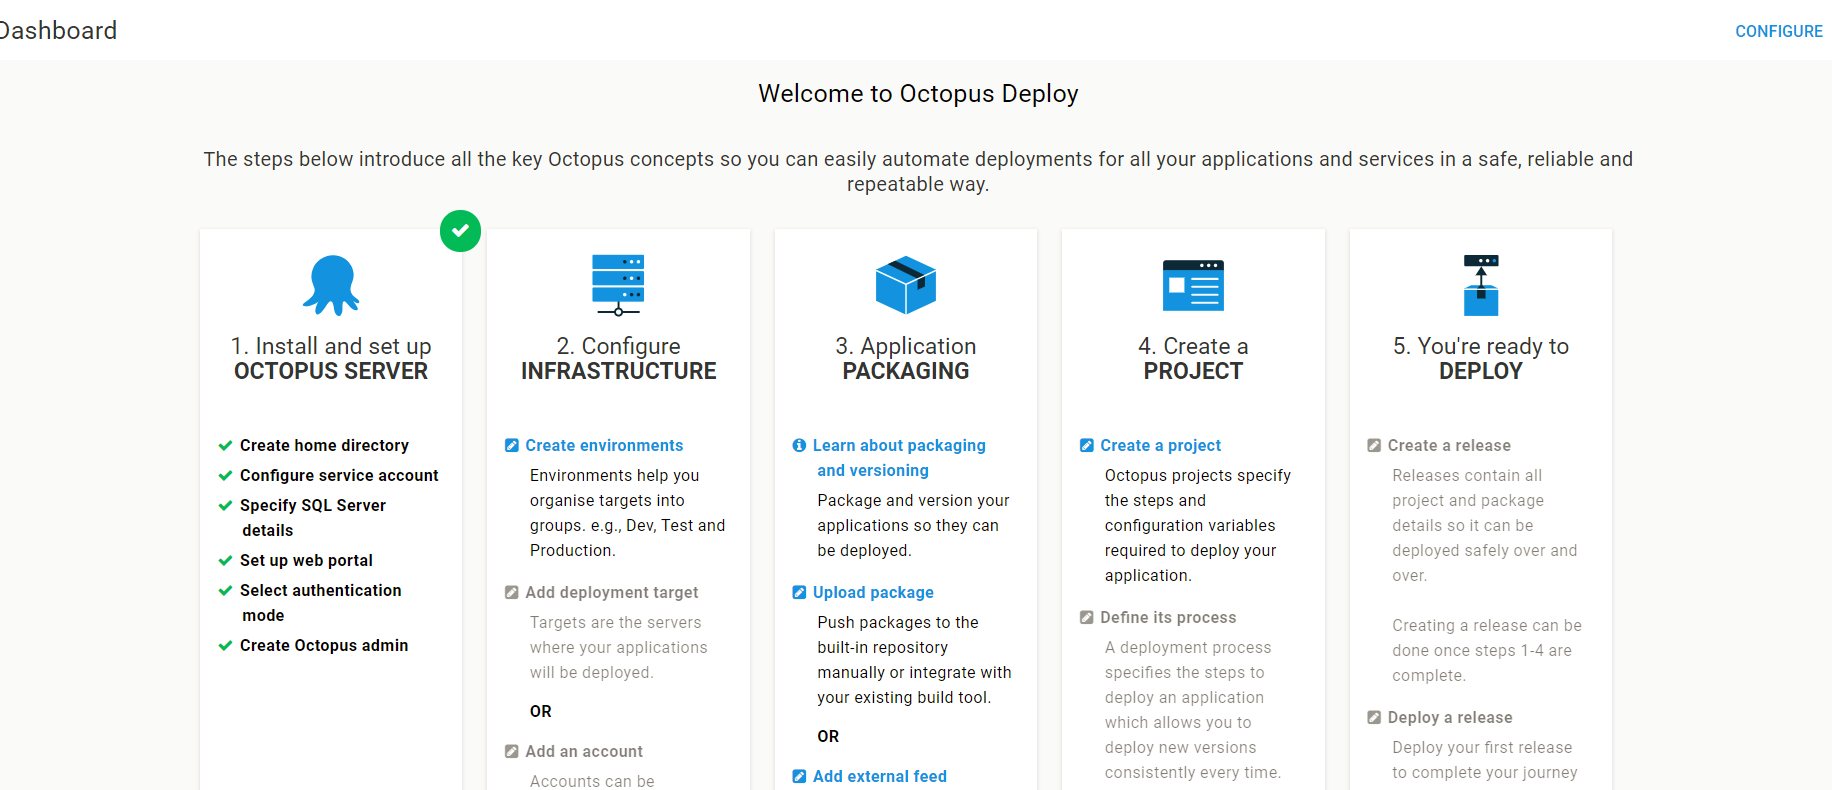
- When Octopus is installed and configured, you can manage your deployments via the web interface (localhost:8080 in our particular case):